
Transform Kubernetes Manifests into Helm Chart
𝑪𝒍𝒐𝒖𝒅 𝒂𝒏𝒅 𝑫𝒆𝒗𝑶𝒑𝒔 𝑻𝒆𝒄𝒉 𝑪𝒐𝒎𝒎𝒖𝒏𝒊𝒕𝒚 || 𝑷𝒓𝒐𝑫𝒆𝒗𝑶𝒑𝒔𝑮𝒖𝒚 🤖 https://t.me/prodevopsguy 👋 Hi there! We are ProDevOpsGuy, a passionate DevOps enthusiast Tech Community with a strong belief in the power of automation and collaboration to drive innovation. 🚀 I thrive in bridging the gap between development and operations, creating seamless and efficient software delivery pipelines. My journey in the world of DevOps has allowed me to blend my technical skills with a knack for problem-solving, enabling me to contribute effectively to agile and dynamic environments. 💡 With a keen interest in continuous integration, continuous delivery (CI/CD), containerization, and orchestration, I've had the privilege to explore cutting-edge technologies like Docker, Kubernetes, Jenkins, and Ansible. I find joy in designing scalable and resilient infrastructures that enable teams to deploy applications faster and with greater confidence. 🌐 Beyond the tech realm, I'm an advocate for DevOps culture, emphasizing collaboration, communication, and a relentless pursuit of improvement. I'm always eager to connect with fellow professionals, exchange insights, and explore opportunities to collaborate on exciting projects. 📚 When I'm not tinkering with the latest DevOps tools, you can find me indulging in books on technology trends, hiking to rejuvenate, and occasionally experimenting with new coding challenges. 🌟 Let's connect! Whether you're looking to discuss DevOps methodologies, explore partnership opportunities, or simply share experiences, feel free to reach out. I'm excited to be part of the DevOps journey, driving excellence together.
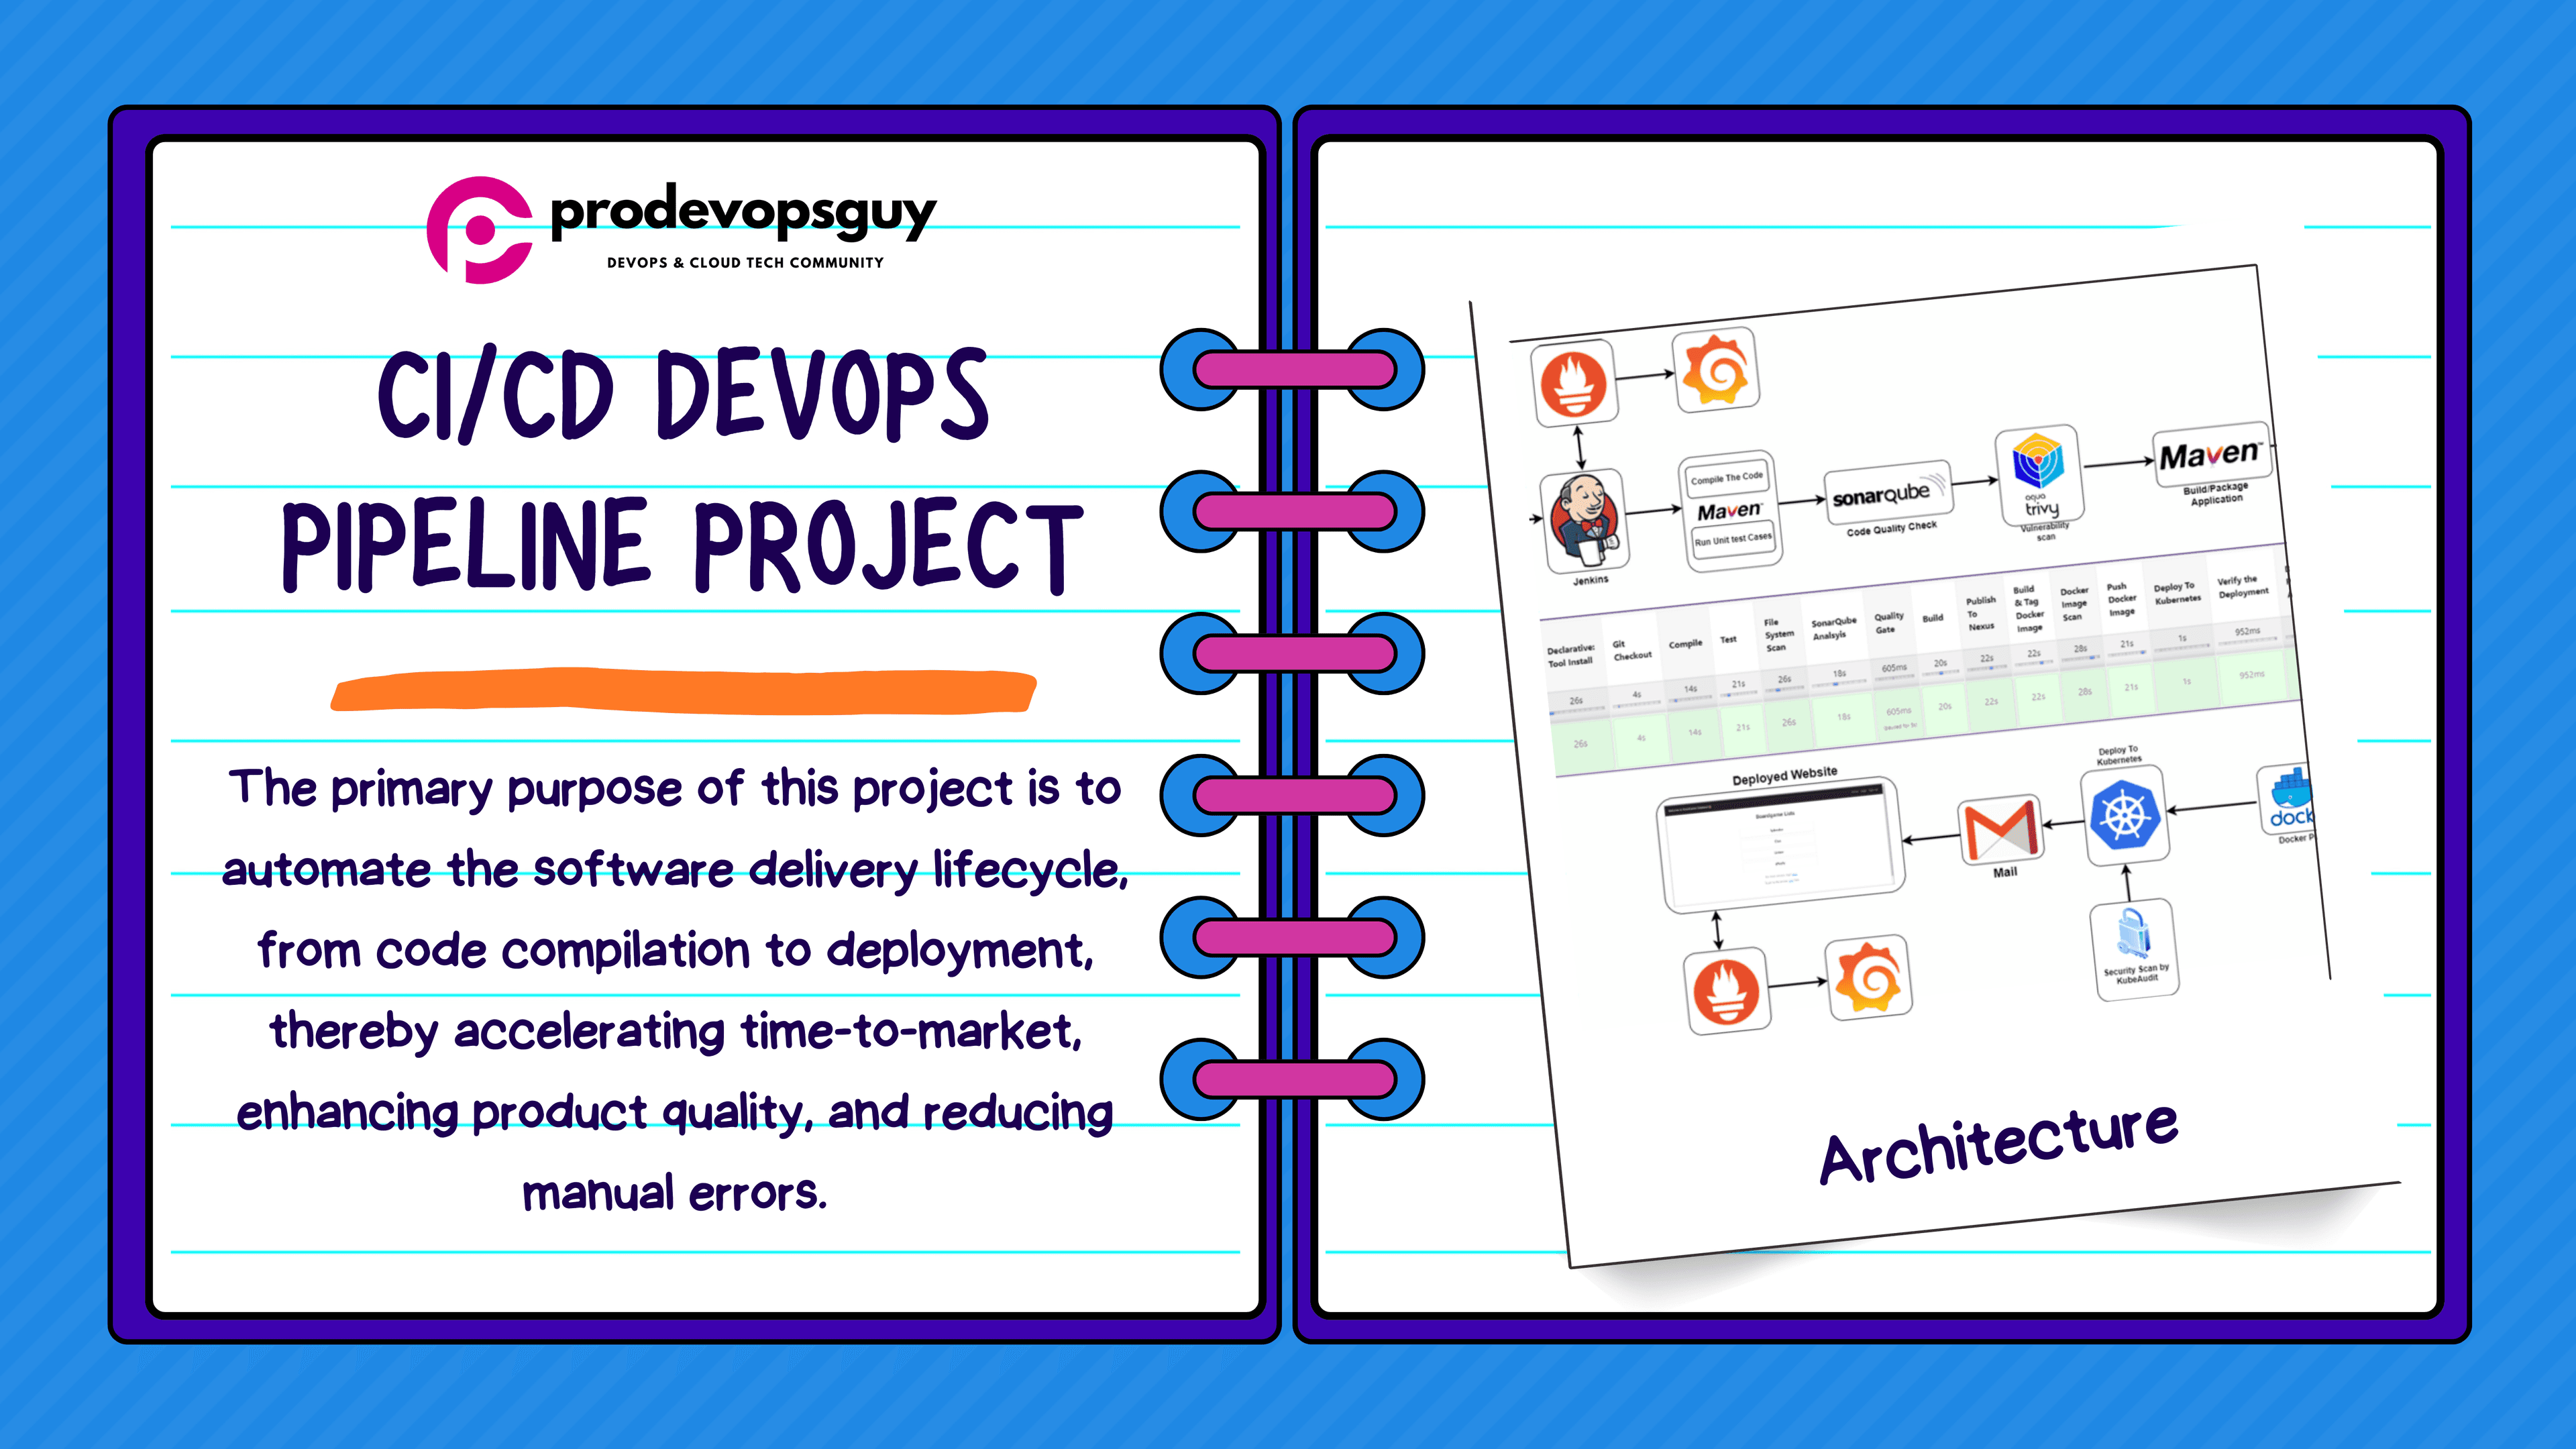
Kubernetes is one of the most popular Container Orchestration tool in the market and it’s popularity is growing further with the growing use of microservices-based applications. Kubernetes is widely-used because of its ability to define and manage complex applications using manifests. However, as the complexity of the application grows, managing and maintaining these manifests can become difficult and time-consuming. This is where Helm, the Kubernetes package manager, comes in. Helm allows users to define, install, and manage Kubernetes applications as packages called charts. In this article, we will explore how to transform Kubernetes manifests into Helm charts.
What is Helm and Helm Charts?
Helm is a Kubernetes Package Manager that automates the creation, packaging, configuration, and deployment of Kubernetes applications by combining your configuration files into a single reusable package.
A Helm chart is a collection of files that define a set of Kubernetes resources and their associated configuration values. It consists of two main components: templates and values. Templates are Kubernetes manifest files that have placeholders for configuration values. Values are a set of configuration values that are used to fill in the placeholders in the templates. When a chart is installed, the values are merged with the templates to generate the final Kubernetes manifests.
So now that we have a general idea of what Helm is we can start with some demo but before that we need to create Kubernetes manifests which we will then transform to use Helm
Kubernetes Manifests
We will be creating very simple manifests in Kubernetes to create a Deployment using nginx image and put it behind a ClusterIP Service

deployment.yaml
apiVersion: apps/v1
kind: Deployment
metadata:
  name: nginx-deployment
  namespace: juzer-ns
  labels:
    app: web
    env: dev
    managed-by: Helm
    version: v1
spec:
  selector:
    matchLabels:
      app: web
  replicas: 1
  template:
    metadata:
      labels:
        app: web
        env: dev
    spec:
      containers:
      - name: nginx
        image: nginx
        ports:
          - containerPort : 80
        livenessProbe:
          httpGet:
            path: /
            port: 80
          initialDelaySeconds: 5
          periodSeconds: 5
service.yaml
apiVersion: v1
kind: Service
metadata:
  name: nginx-service
  namespace : juzer-ns
spec:
  selector:
    app: web
    env: dev
  ports:
    - name: http
      port: 80
      targetPort: 80
  type: ClusterIP
The above manifests will create a Deployment named nginx-deployment with 1 replica and a ClusterIP service listening on port number 80.We can then apply it using the below command
kubectl apply -f nginx_application

Now that we have created our Kubernetes manifests, we can create a helm chart. But for using helm you need to have helm installed in your system. You can install it from here .
Create Helm Chart
We can create the helm chart using the following command
helm create nginx-chart
This creates a directory named nginx-chart and it contains the following folders

The important files/folders in this are
Chart.yaml — In this we specify chart information such as chart name,version,description etc.
Values.yaml — In this we define the values which are used in the template such as replicas,image_name etc.
templates — This directory contains all the manifests which finally get deployed when we install the helm chart
The templates directory will have some default manifests in them which we will not use since we already have our own manifests so we can delete them
cd nginx-chart/
rm -rf templates/*
We will now add the deployment.yaml and service.yaml files to templates and make it dynamic to use values from Values.yaml
deployment.yaml
apiVersion: apps/v1
kind: Deployment
metadata:
  name: {{ .Release.name }}-deploy
  namespace: {{ .Values.namespace }}
  labels:
    app: web
    env: dev
    managed-by: Helm
    version: v1
spec:
  selector:
    matchLabels:
      app: web
      env: dev
  {{- if .Values.replica_count }}
  replicas: {{ .Values.replica_count }}
  {{- end }}
  template:
    metadata:
      labels:
        app: web
        env: dev
    spec:
      containers:
      - name: {{ .Chart.Name }}
        image: {{ .Values.image }}
        ports:
          - containerPort : {{ .Values.containerPort }}
        livenessProbe:
          httpGet:
            path: /
            port: 80
          initialDelaySeconds: 5
          periodSeconds: 5
service.yaml
apiVersion: v1
kind: Service
metadata:
  name: {{ .Release.name }}-service
  namespace : {{ .Values.namespace }}
spec:
  selector:
    app: web
    env: dev
  ports:
    - name: http
      port: {{ .Values.service.port }}
      targetPort: {{ .Values.service.targetPort }}
  type: {{ .Values.service.type | default "ClusterIP" }}
values.yaml
replica_count: 2
namespace: juzer-ns
image: nginx
containerPort: 80


service:
  type: ClusterIP
  port: 80
  targetPort: 80
Built-in objects
We have mentioned the objects such as replica_count , namespace , image etc. in the values.yaml and referenced them in the templates using .Values.replica_count , .Values.namespace , .Values.image .
Apart from the Values object we have also used two other Built-in Objects in our template which are Release and Chart
Release: This object describes the release created when we install our helm chart. It has the following objects inside of it:
Release.Name: The name of the releaseRelease.Namespace: The namespace to be released into (over-riden by the namespace mentioned in the manifest)Release.IsUpgrade: This is set totrueif the current operation is an upgrade or rollback.Release.IsInstall: If the current operation is an install, then this istrueRelease.Revision: The revision number for this release. Incremented with each upgrade and rollback.Release.Service: The service that is rendering the present template. On Helm, this is alwaysHelm.
Chart: The Chart object defines the contents of the Chart.yaml file. Any data in Chart.yaml will be accessible here. For instance {{ .Chart.Name }}-{{ .Chart.Version }} will print out the nginxchart-0.1.0. The available fields are listed in the Charts Guide .
if/else control structure
We have also used the if/else control structure to pass the Values.replica_count . So if the value specified for replica_count is not nil ( empty ) then the replicas parameter will be set to Values.replica_count ,but if replica_count is empty then the replicas parameter will not be set at all.
To learn what object values evaluate to false for the if/else block you can go here .
default function
In service.yaml , we have used the default function to set the the default value of service type to Cluster IP if no value for .Values.service.type is specified in the values.yaml file
Now, we can install the chart using the following command
helm install nginx-app ./nginx-chart

We can see the Kubernetes resources using the following command

In the first demo, we used the if/else control structure to control the deployment replicas. There are two other control structures which are very useful that we will cover in the next demos which are as follows :
with
range
with control structure
Up until now we have referenced the objects from values.yaml like this .Values.<object_name> . In this . is a reference to the current scope. So .Values specifies the template to search for the Values object in the current scope. Using with we can change the scope to a particular object. So instead of referencing the values in service.yaml like this .Values.service.port , .Values.service.targetPort we can change the scope to point to .Values.service as following
service.yaml
apiVersion: v1
kind: Service
metadata:
  name: {{ .Release.Name }}-service
  namespace : {{ .Values.namespace }}
spec:
  selector:
    app: web
    env: dev
  ports:
  {{- with .Values.service }}
    - name: http
      port: {{ .port }}
      targetPort: {{ .targetPort }}
  type: {{ .type | default "ClusterIP" }}
  {{- end }}
So instead of referencing the port value as .Values.service.port we can directly reference it as .port since we changed the scope to .Values.service using the with control structure
We can re-deploy the helm chart using the following command..although this will not actually change anything as we have not changed any values for service.yaml , we have just changed how we refer values in it.
helm upgrade nginx-app ./nginx-chart
range control structure
In programming languages such as Python , C/C++ and Java we can iterate through a list of items using for or foreach loops. In Helm's template language, the way to iterate through a collection is to use the range operator. It’s syntax is something like this
{{- range .Values.<iterator_value> }}
    // Perform what you want here...Eg : {{ . | title | quote }}
{{- end }}
Currently in our deployment.yaml, we are assigning labels to the deployment manually. For our next demo, we will be creating a dictionary type object for labels and then assign labels to the deployment through the range control structure.
In values.yaml we will add 2 objects — labels and selector_labels
values.yaml
### All the values from above demos should also be here

labels:
    app: web
    env: dev
    managed-by: Helm
    version: v1
selector_labels:
    app: web
    env: dev
deployment.yaml
apiVersion: apps/v1
kind: Deployment
metadata:
  name: {{ .Release.Name }}-deploy
  namespace: {{ .Values.namespace }}
  labels:
    {{- range $key,$value := .Values.labels }}
    {{ $key }}: {{ $value }}
    {{- end }}
spec:
  selector:
    matchLabels:
      {{- range $key,$value := .Values.selector_labels }}
      {{ $key }}: {{ $value }}
      {{- end }}
  {{- if .Values.replica_count }}
  replicas: {{ .Values.replica_count }}
  {{- end }}
  template:
    metadata:
      labels:
        {{- range $key,$value := .Values.selector_labels }}
        {{ $key }}: {{ $value }}
        {{- end }}
    spec:
      containers:
      - name: {{ .Chart.Name }}
        image: {{ .Values.image }}
        ports:
          - containerPort : {{ .Values.containerPort }}
        livenessProbe:
          httpGet:
            path: /
            port: 80
          initialDelaySeconds: 5
          periodSeconds: 5
service.yaml
apiVersion: v1
kind: Service
metadata:
  name: {{ .Release.Name }}-service
  namespace : {{ .Values.namespace }}
spec:
  selector:
    {{- range $key,$value := .Values.selector_labels }}
    {{ $key }}: {{ $value }}
    {{- end }}
  ports:
  {{- with .Values.service }}
    - name: http
      port: {{ .port }}
      targetPort: {{ .targetPort }}
  type: {{ .type | default "ClusterIP" }}
  {{- end }}
We have added the following block in the labels using range
{{- range $key,$value := .Values.selector_labels }}
{{ $key }}: {{ $value }}
{{- end }}
This works exactly like a for or foreach loop in any other programming language.It iterates over the object .Values.selector_labels and in each iteration just prints {{ $key }}: {{ $value }} which basically renders as app: web and env: dev etc. when the template is generated.
We can visualise this using the helm template command which outputs the template for us with the values replaced from values.yaml
helm template nginx-chart/

You can see in the above image that the labels got picked up through the range control structure from values.yaml on rendering the template.
Conclusion
Hence,we have successfully transformed our Kubernetes manifests into Helm chart.We used Built-in objects such as Values , Release and Chart in our template along with control structures such as if/else , with and range . That’s all for this article!
Thank You!